
When I first saw the Bladelight from Flolight, I was immediately interested. It looks different to most LED's, and has a unique quality of light. Most LED's are square or rectangular panels, meaning they have a hard time wrapping around subjects, unless a softbox is attached. The Blade's main selling point is it's length. It looks a lot more like a Kino Flo, a very popular light due to it's shape and light quality. I wanted to know if this light would act similar to a Kino or soft box to provide a softer source, while also acting as a flood for walls and cycs.
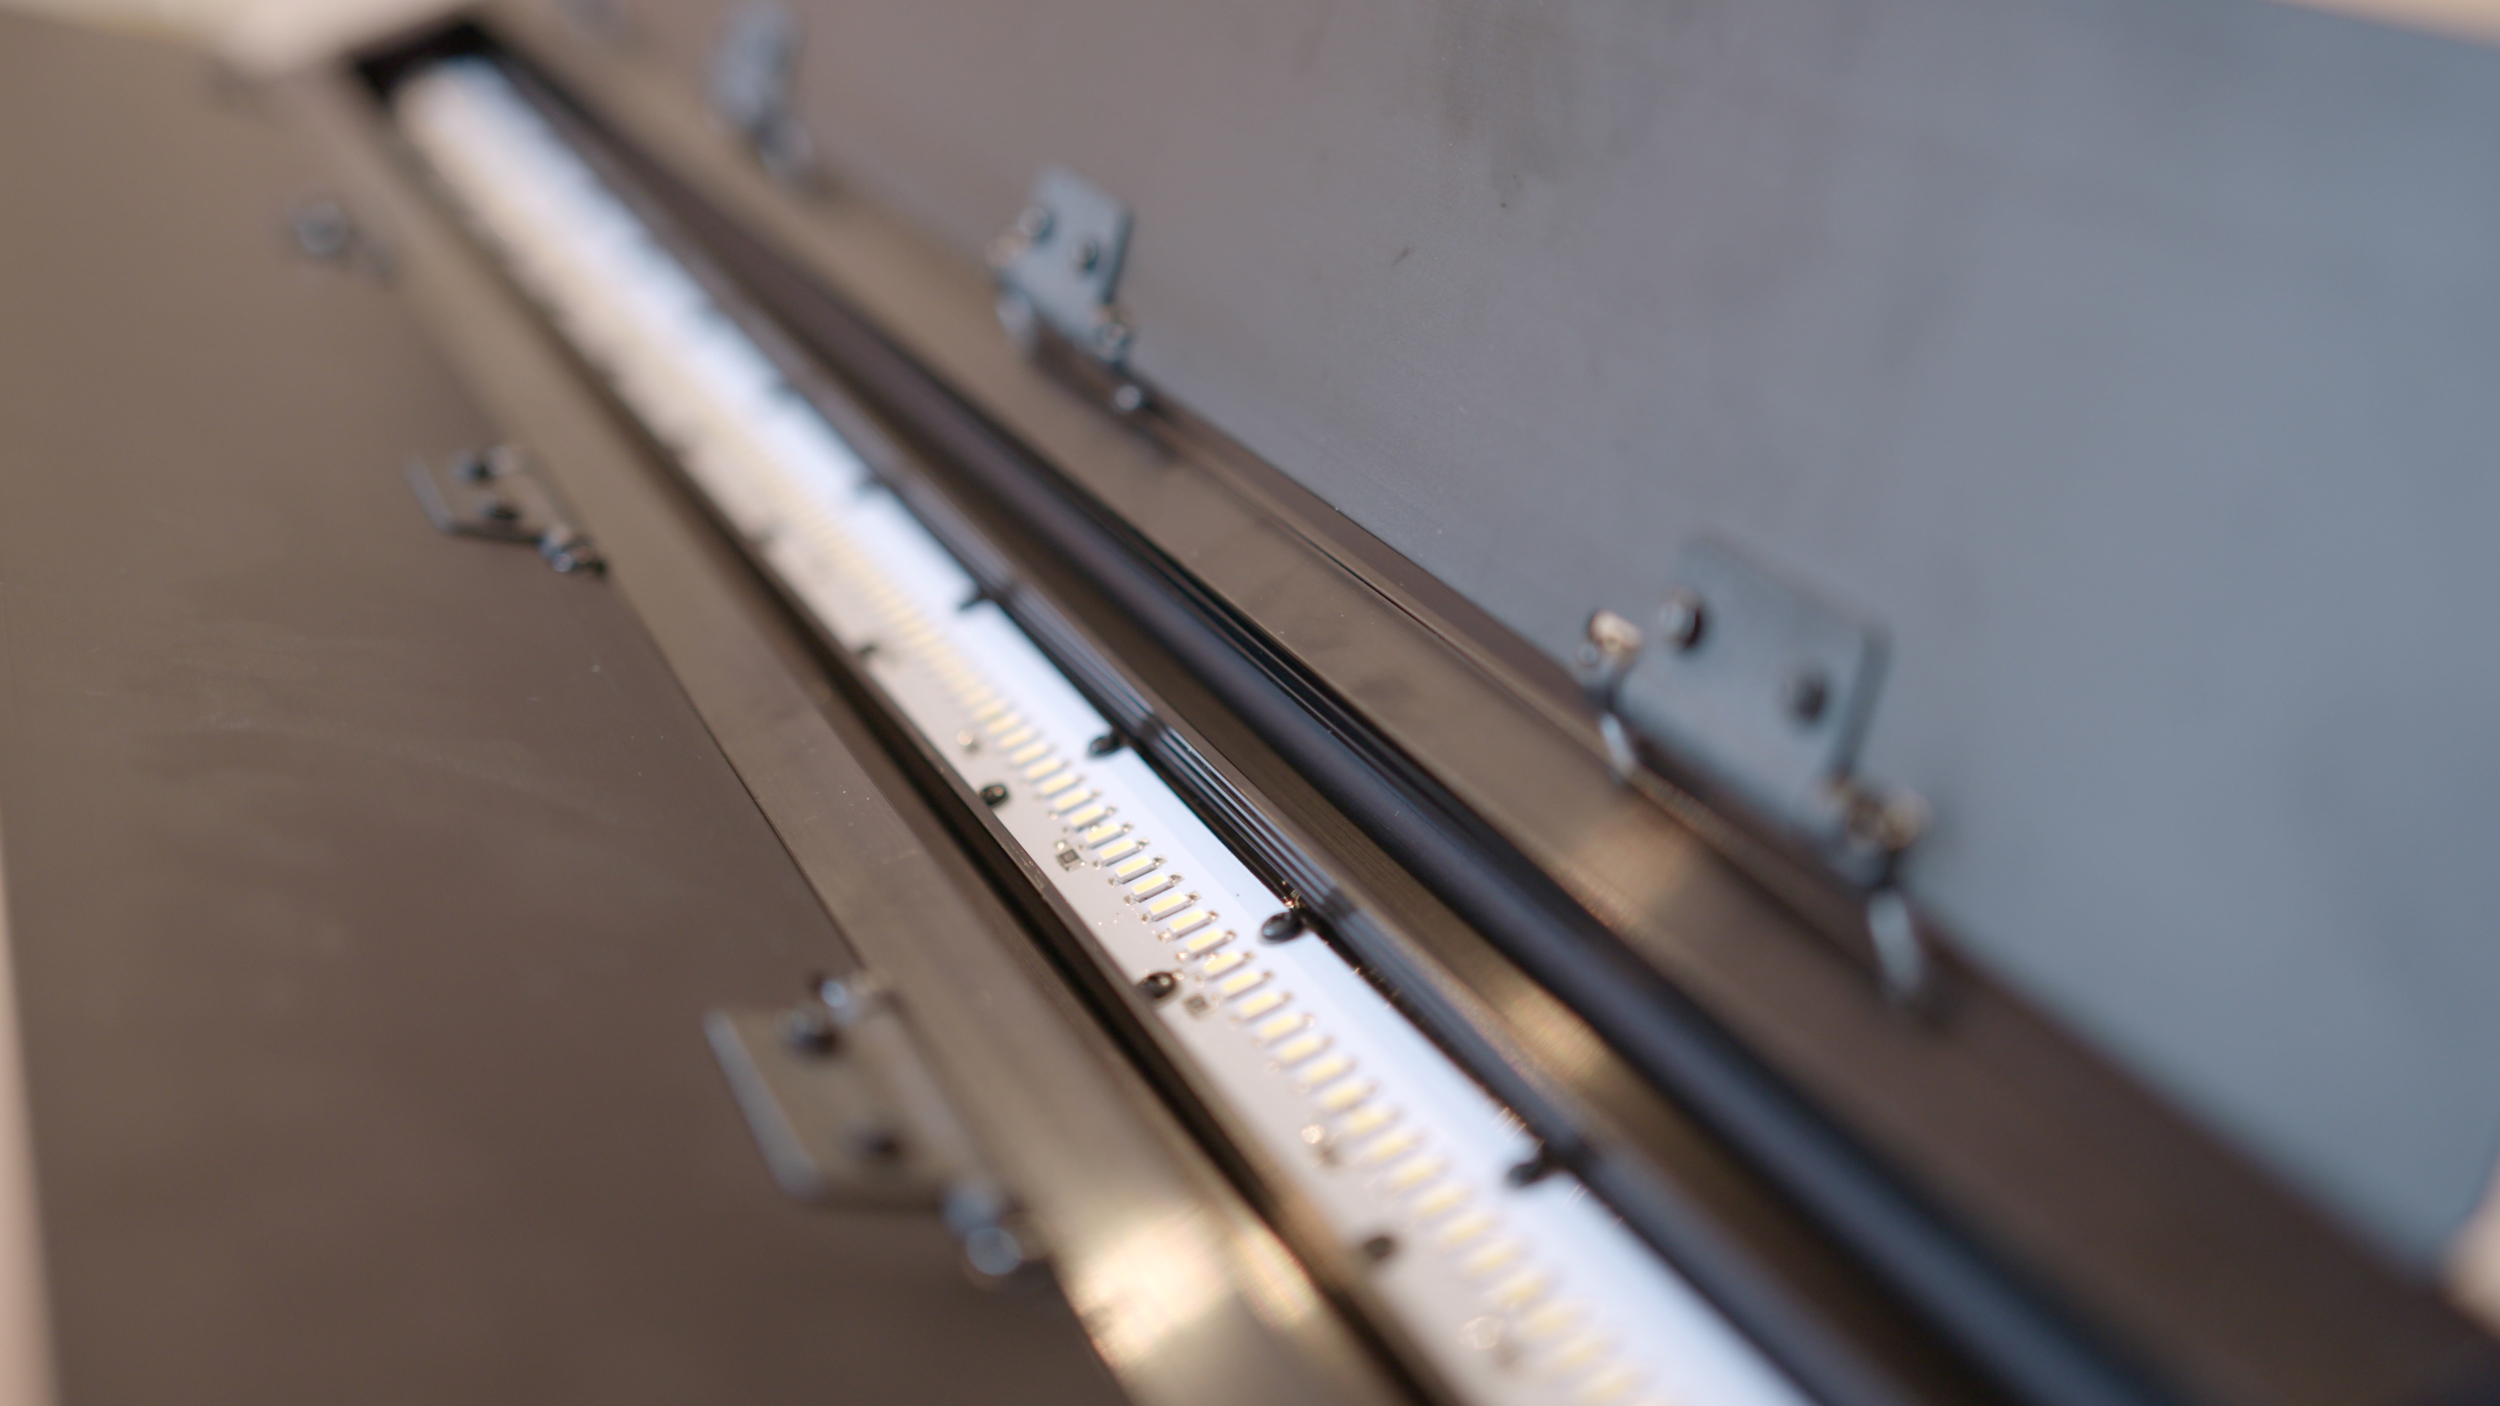
Flolight were kind enough to send me a 36" daylight model to test. What's immediately clear when you get your hands on this light, is the quality of the build. It feels extremely solid, has a good weight to it and is pretty much all metal construction. Barn doors come as standard to help control and cut light. The power pack is very robust and contains all the electrics and dimmer. This means that the light itself is pretty much bomb proof as it's just a metal housing with an LED strip up the middle. Flolight have told me that this light is designed to be modular and that they are working on accessories and future upgrades.

The light ships with a lens which can be inserted into 2 slots, changing the beam angle from 120 degrees to 60 and 20 degrees. This is the one part of the light that confused me slightly, as I really couldn't think when I'd use it. Again, talking to the guys at Flolight, they have told me they are working on a 'cookbook' of how to best use the lens/diffusion combos and are also working on different lenses. This is great to hear as it's something you don't often see lighting companies do. From talking to these guys, they are really interested in getting the best possible results from the light and really open to experimentation.

It also comes with a diffusion holder, which slots into one of 2 slots, a diffusion slide and some tungsten correction gels (for daylight version). As I've worked for Lee Filters in the past, I immediately knew their Zircon range of LED diffusion and warming filters would be perfect. They are thick and rigid, so slot in very easily (oooh Matron!).

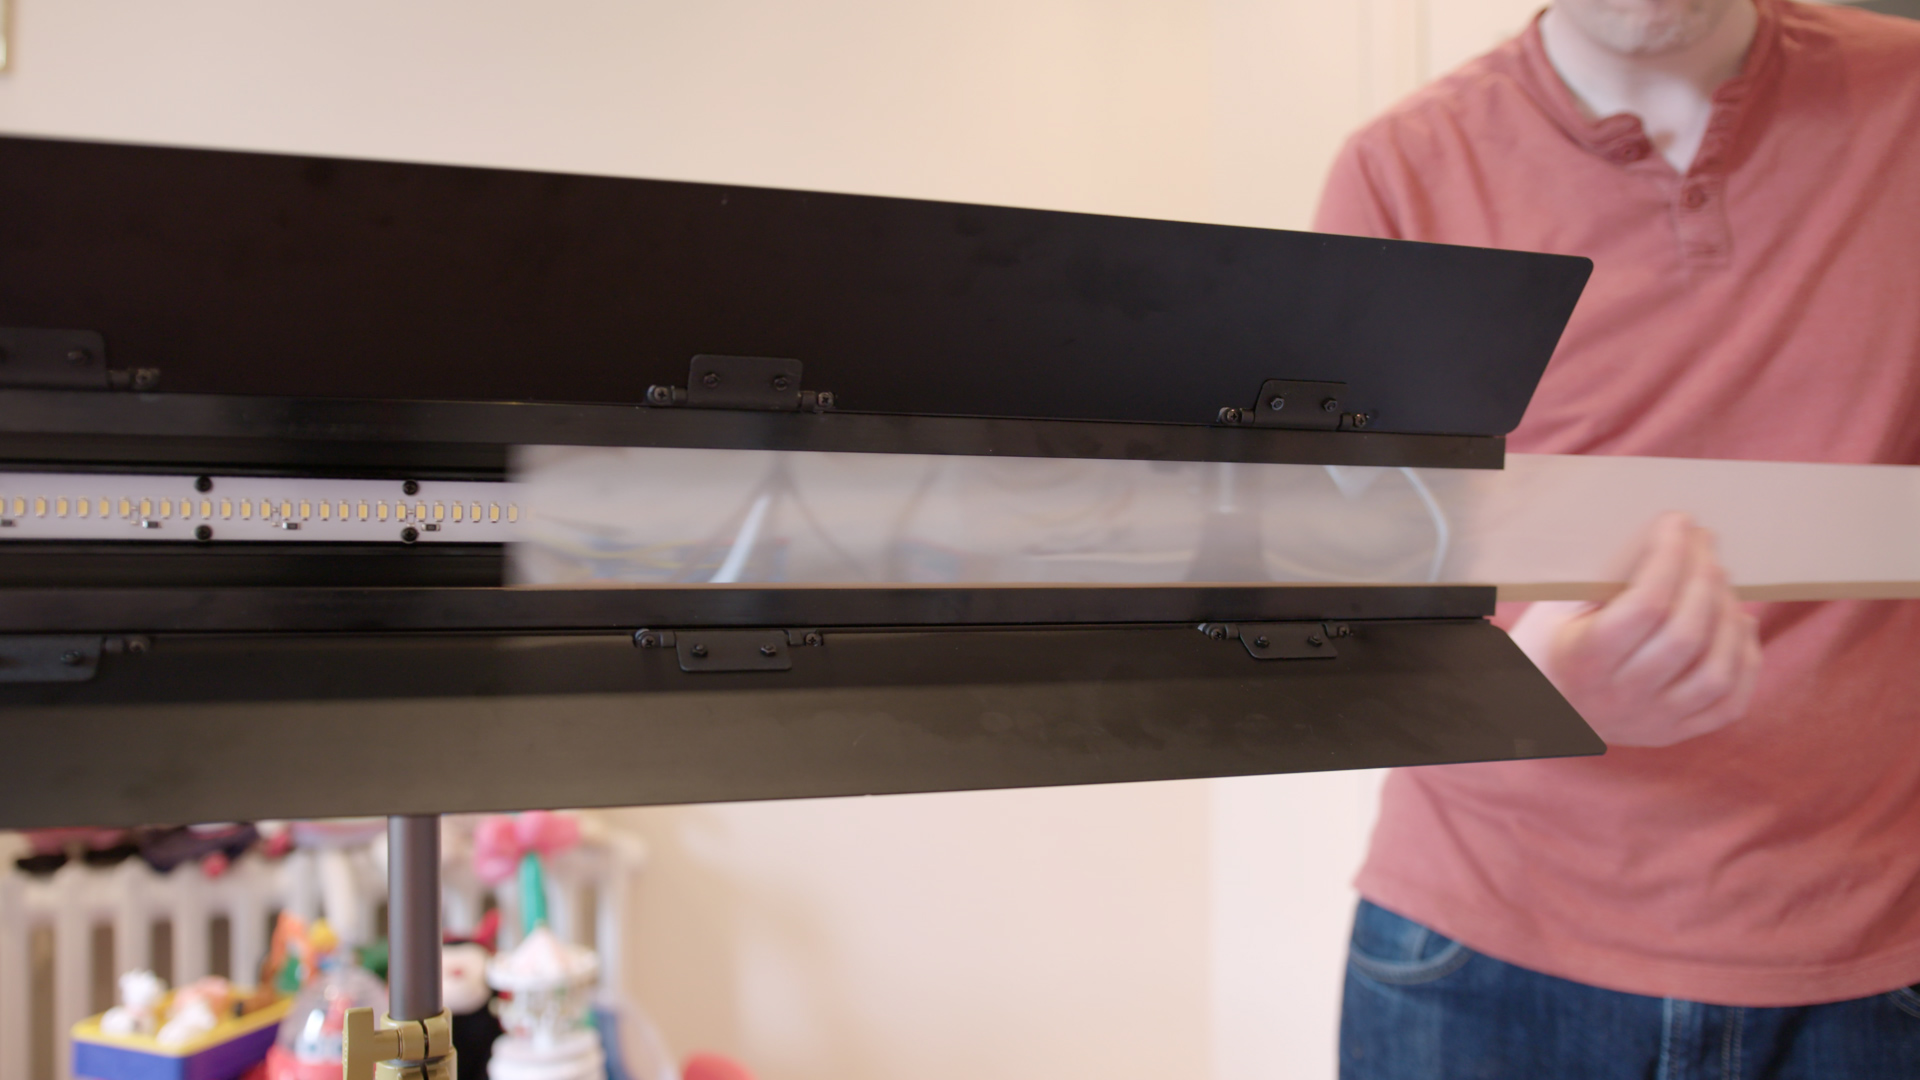
The light attaches to any regular light stand and has a double ball socket. This did take a little getting used to, as releasing the tension makes the 'heavy' light go instantly floppy. But by making sure you have a hand on the light before you slacken the joint works well. In fact I really like it now as I can turn and point the light anywhere I want, offering infinite possibilities when it comes to mounting.

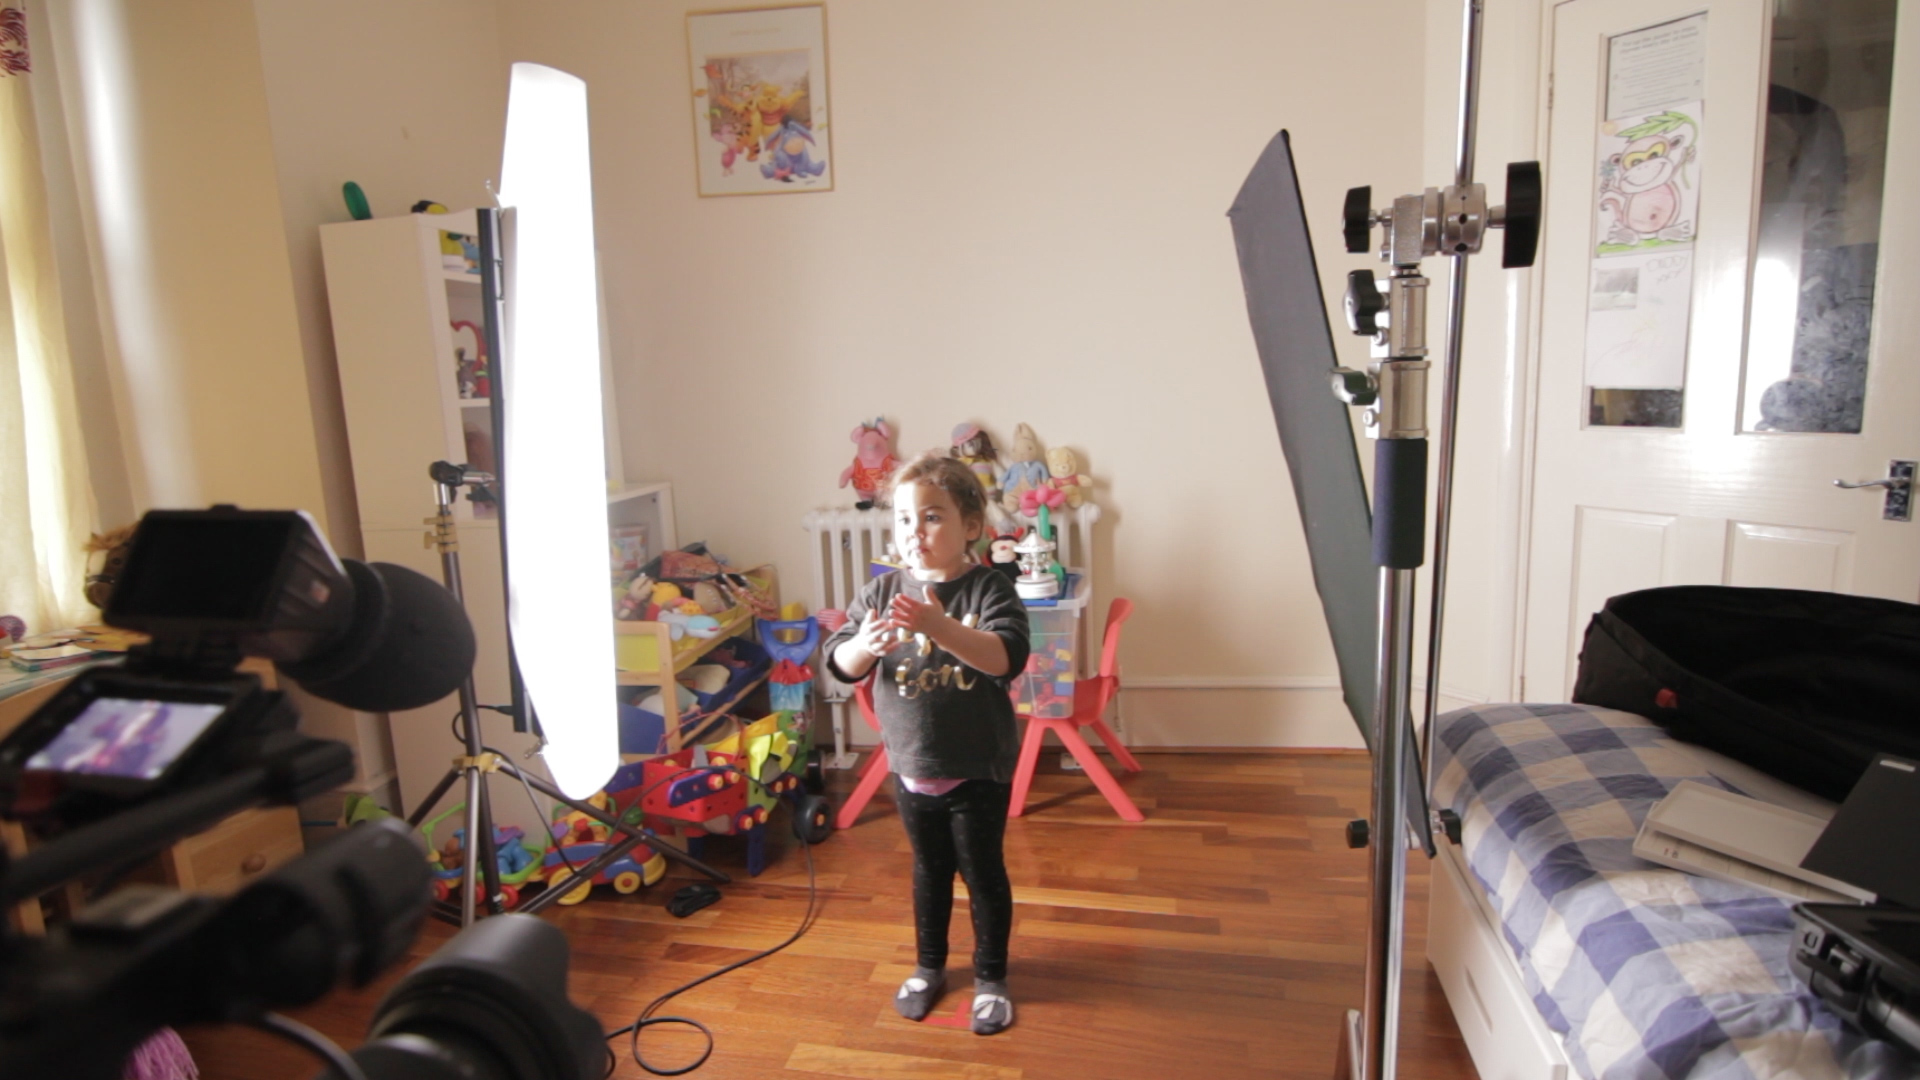
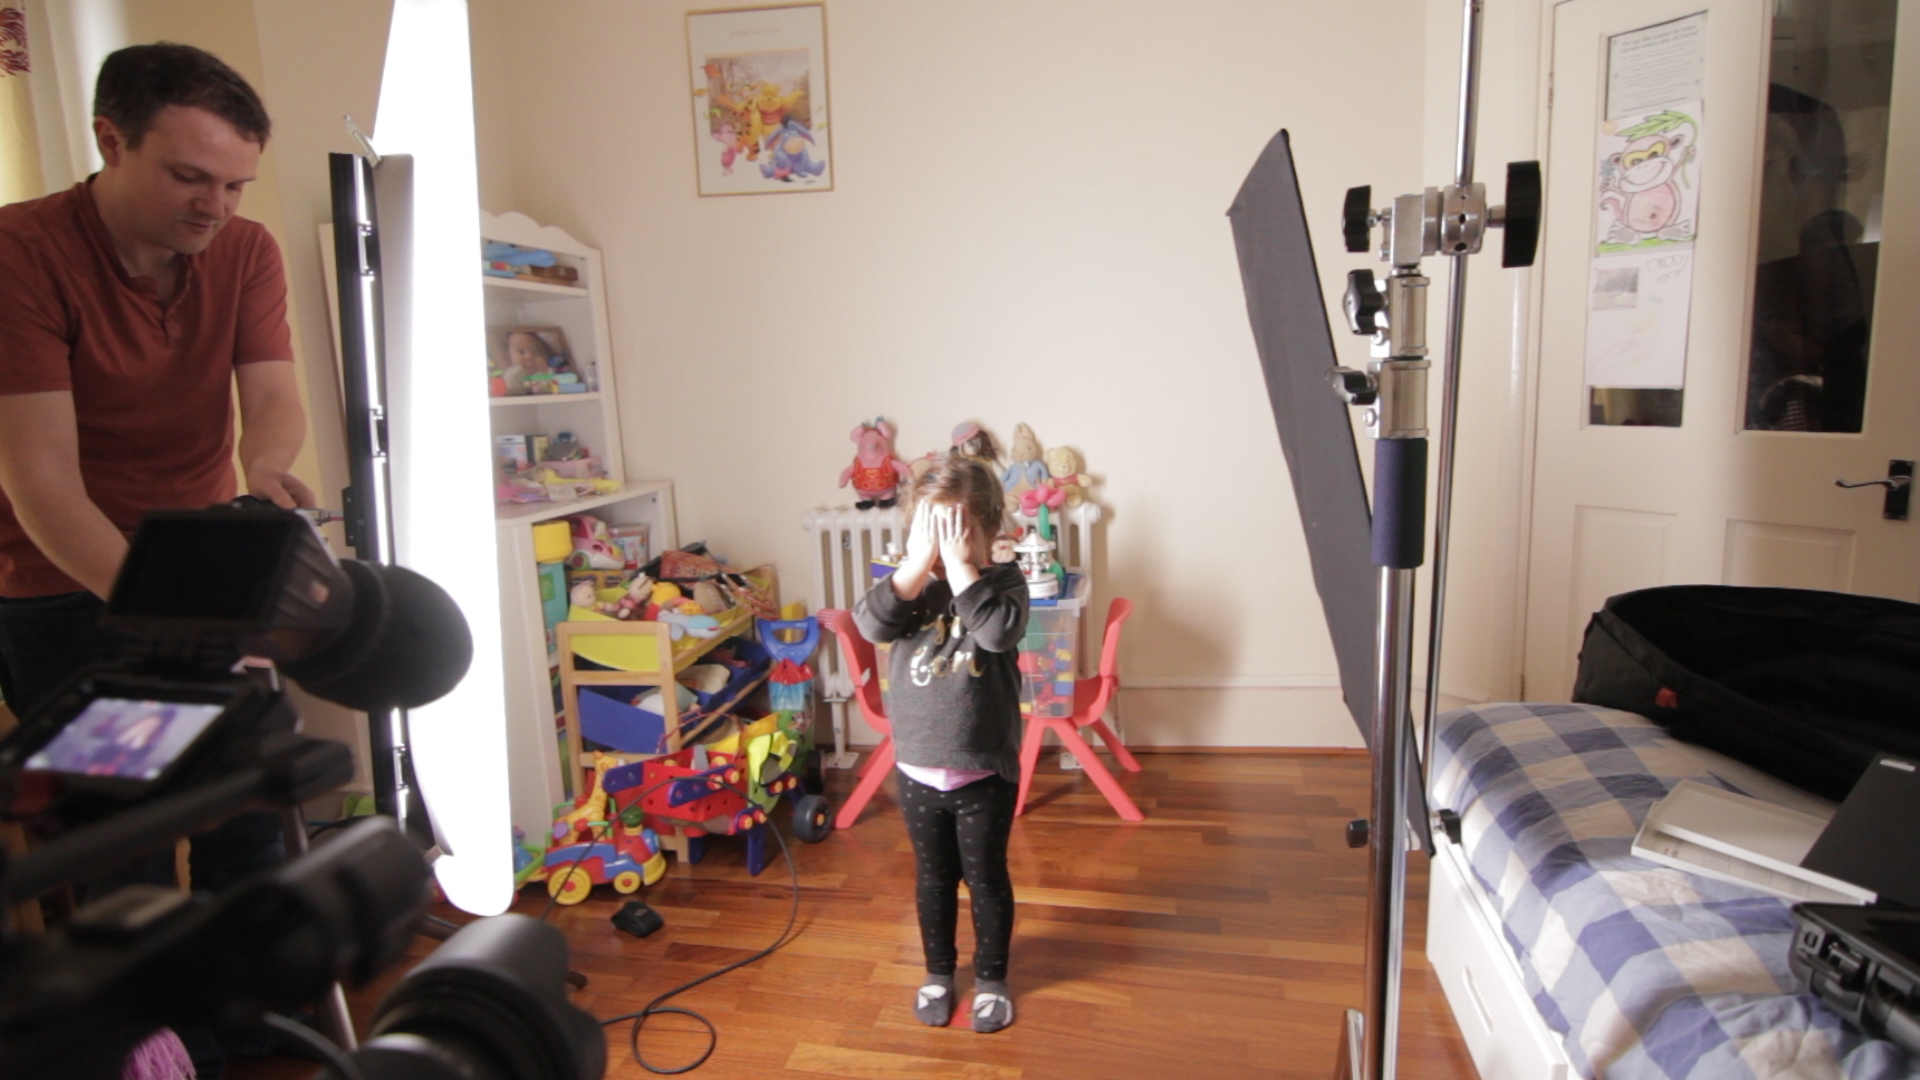
So onto the test. Shot this on my Sony Fs7, Cine EI, Slog3.Cine. I used the Art Adams 709TypeA LUT with no other grading. I used this LUT as it's very neutral and has good contrast. I used my 4 year old daughter in this test, mainly as it was a Saturday and she was home! Her bedroom seemed like to obvious place, despite the cream walls. I kinda wanted to show the light in a real situation that wasn't perfect. It's easy to make things look good in a studio, but I'm guessing a lot of people will be taking this light into all kinds of situations.
If you watch the video below you will get a good idea of how the light performs, but here's an overview of what I found.
At first the light was a little tricky to get my head around. I'd never used a light like this before. Closest thing in shape is probably a Kino Celeb 401, which is a great light, but also very expensive. I definitely felt this light worked best by clipping some extra diffusion on the barn doors. If you don't do this, the light is soft on one axis and hard on the other. This can lead to some 'ghosting' in the shadows, especially around the nose. This isn't unique to this light - I've seen similar shadows from a Kino Tegra, although a Kino is inherently softer. However, adding some diffusion (Lee 250) immediately improved this - a lot! It does of course take out a bit of light, but you can do this with the Blade as it's bright! I think it easily competes with something like a 1K soft box when you have diffusion in place.

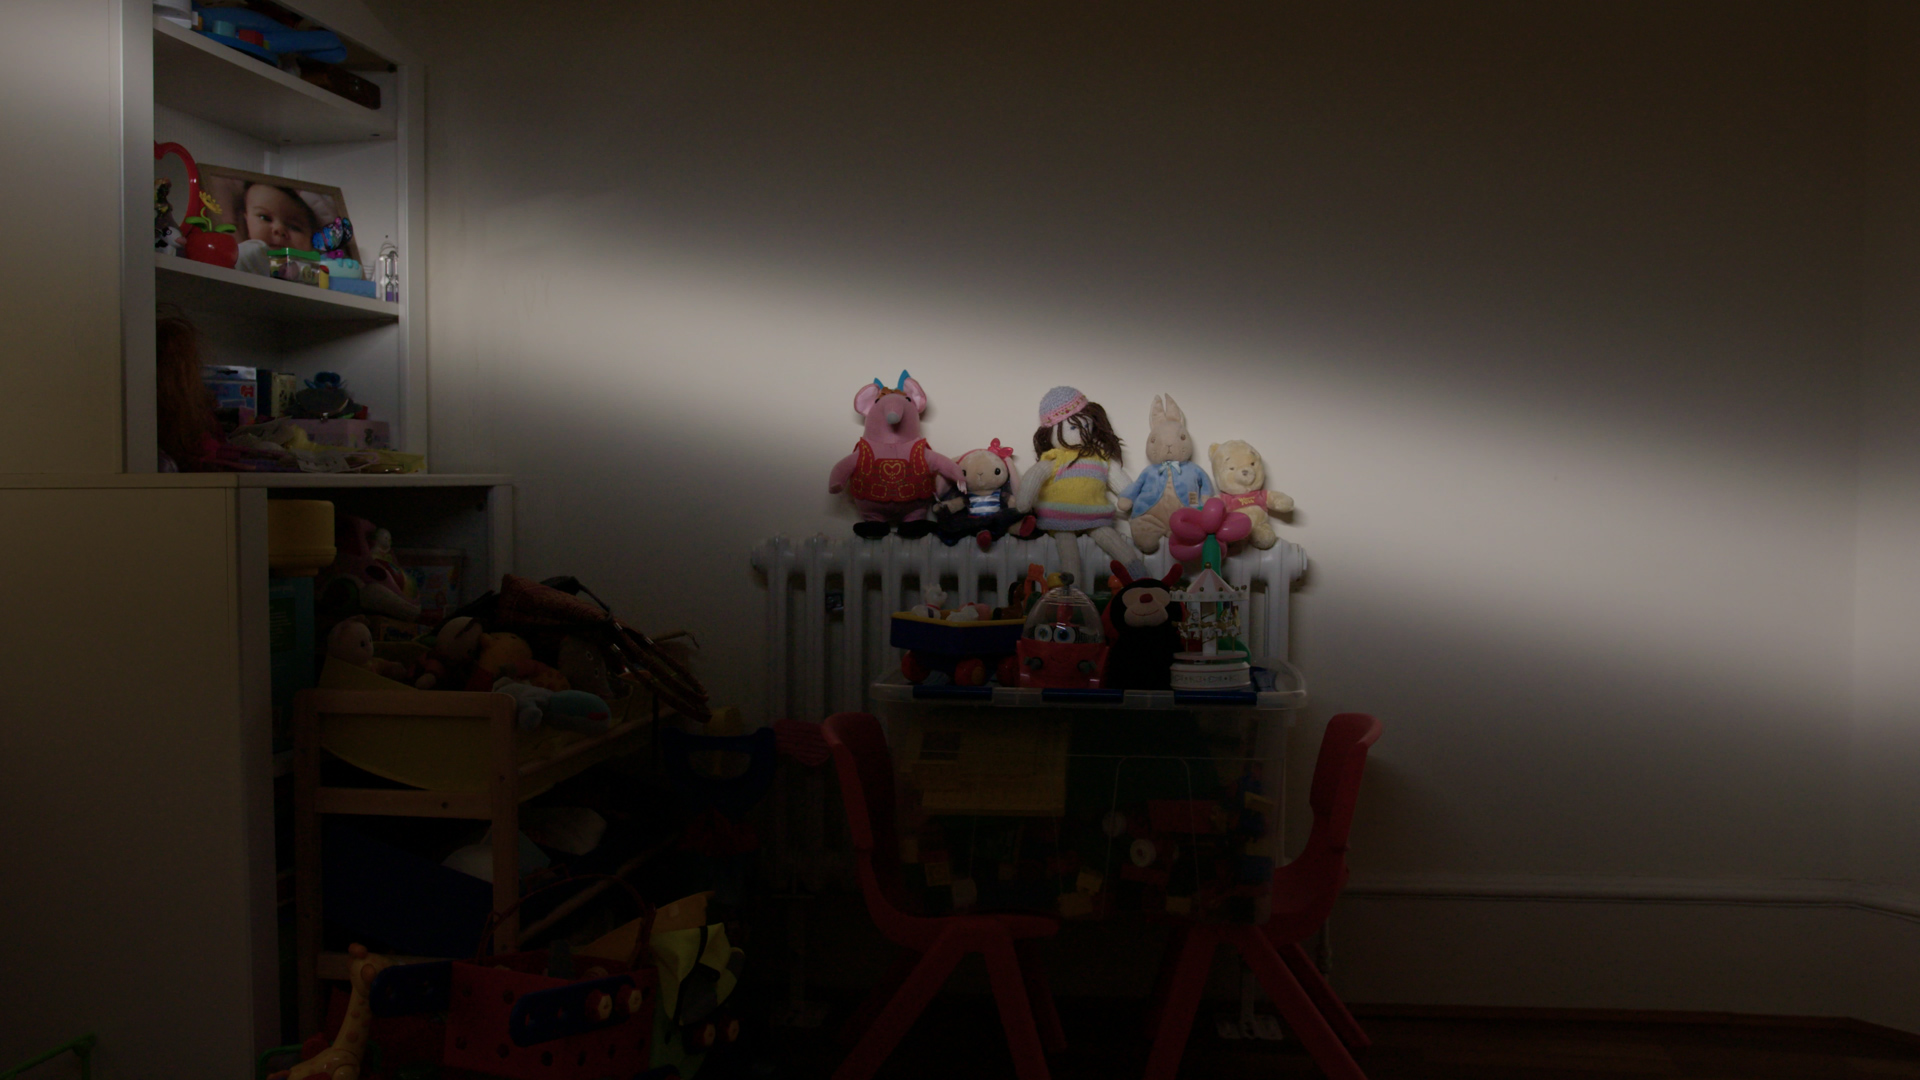
That's not to say I would always use this light with extra diffusion. This light is great as a flood on walls and I fully intend to use it as such. It's going to make a great cyc/green screen light as it washes large areas very evenly. I had false colour up on my Odyssey 7Q+ and this light was very impressive when it came to even exposure. It's not sexy lighting walls, but it's something this light is seriously good at it! I see Kinos being used a lot in studios, but they fall off pretty quickly. Dare I say this does a better job? I'll have to test that in the field, but I'm pretty confident. Worth noting that Flolight also do a green version of this light for green screen.
One of the things this light is being advertised as doing well is cutting the light with the barn doors. Without diffusion you get a very nice hard edge, but there is some colour fringing.

Add a little diffusion in one of the slots and this goes away, but so does your hard edge. Flolight are currently testing lighter diffusion to keep the hard edge, while illuminating fringing. I'm sure I could have slotted in some light Zircon and got a harder edge. It's a nice feature, and a very quick way to get a long slash of light. Of course the barn doors are also there to control spill, and they do this very well, compared with other LED's I've used where the barn doors feel like decoration.
So what about lighting a face? I'm pretty happy with the results I'm getting and I feel like I'm just figuring out how to get the most from this light. I can see myself hitting this through diffusion sheets, bouncing off walls etc to get a softer look. The guys at Flolight are currently making a custom soft box which could be a very nice addition. But just as I'm using it now, I'm liking what I'm seeing - certainly when I compare it to regular LED 1x1 panels, this provides a much softer, wrapping light.
Colour rendition looks pretty good. I'm not going to pretend to be a tech. I do have the photometrics, which are over 95 CRI, but I mostly go on what I see. I'm not a huge fan of LED lighting on skin. It always looks a bit washed out to me. But this is what we are all using now. We can't keep cooking talent with tungsten, no matter how lovely it is! This light looks nice and clean, but as I say, I'm just eyeballing it.
So here's some grabs, followed by the video review. As you can see in the BTS shots, I used some negative fill on the opposite side to bring out the shadows more. Of course you can add a little fill, bounce etc, but this was a test to see what it looked like in isolation.


Above: I have the light very side on. This was mainly to test the wrapping ability, which it does very well. You can see some shadows stretching across the cheek, creating those pockets of light. Of course, this is a pretty extreme position to have the light and not something you're likely to do with it very often. It does make me wonder what it would be like to stack 2 or 3 of these lights. They are designed to stack together. My thinking is that you'd get a very nice wall of light, similar to a brute/dino type light.


Above: Moving the light round to the 7/8 o'clock position and this light does a great job of wrapping light all the way around the face. If I was going for a corporate, low contrast look, I'd simply put a pop up reflector on the opposite side to fill in those shadows. You could of course use another Blade over the camera to wrap that light around even more.

Above: Very moody! Of course, this is now using the light in a very stylised way, but what it shows is how quickly you can change the quality of this light into something totally different.

Above: I've kept it vertical, but moved it round a little. This does create an odd nose shadow as you have light coming from above and below. However, I'd pretty much never use this light like this. If I had 2 Blades, I could stick another on the opposite side, and what you'd get is very flat even light with 2 vertical catch lights in the eye. This is a technique I've seen used in quite a few music videos. What's also interesting is the way this light is evenly lighting my daughters full body. You can see I'm only slightly taller than the light in this position. Say you were doing a quick green screen shoot and wanted to easily light full body. One of these on each side, job done. Not the most elegant way to light perhaps, but I see it done like this all the time with 4' Kinos.


Above: I've done a lot of popstar 'beauty' lighting where you stick something like a Dedo Octodome, Rifa Softbox or a Briese directly above the talent. This is just another way you can use this light. You do get the straight catchlight, but maybe you're doing a music video that wants this - like a bit Sci-Fi. What I'd normally do in this type of lighting is bounce some light back under the chin, or even fill with a light from below, depending on how flat they want it.


Above: So this is one of my preferred lighting positions. This is sometimes called 'Rembrandt' lighting because of the little triangle on the cheek (or at least there would be if my daughter's nose wasn't a little button). I'm always putting my 1k Rifa in this position, and this light is giving a very similar look. In fact, this is a photo I took of of my Nephew with my 1k Rifa. You can see just how similar the result is!


Above: This light makes a great backlight. I've actually removed the diffusion here, and I think I would actually use it more with the diff on to soften the edges, but you can see what it does.


Above: I got a great piece of advice directly from Shane Hurlbut Asc on the Inner Circle. I was lighting a dancer and wanted a very even full body 45 degree backlight. Shane's advice was to attach parcans all the way up a high roller. It worked amazingly well and it's a technique I've since used on many studio shoots involving dancers and pop stars. This light pretty much does the same thing straight out the box! I'd maybe want to attach 2 end to end (they are designed to do this), to go from floor to ceiling, but one is doing a great job. This is definitely something I'm going to use the light for!
So here's the video of the test. As I say, I feel I'm just scratching the surface with this light, and I'm looking forward to taking it out into the real world to see what it can really do!